
To authenticate your applications, you need to register them in Microsoft Azure Active Directory (Azure AD). This is where Office 365 user account and application information is stored. To manage Azure AD through the Azure Management Portal, you need a Microsoft Azure subscription.
- Sign into the Azure Management Portal using your Office 365 business account credentials.
-
Click the Active Directory node in the left column and select the directory linked to your Office 365 subscription.
If Active Directory is not available on left go thought this step-
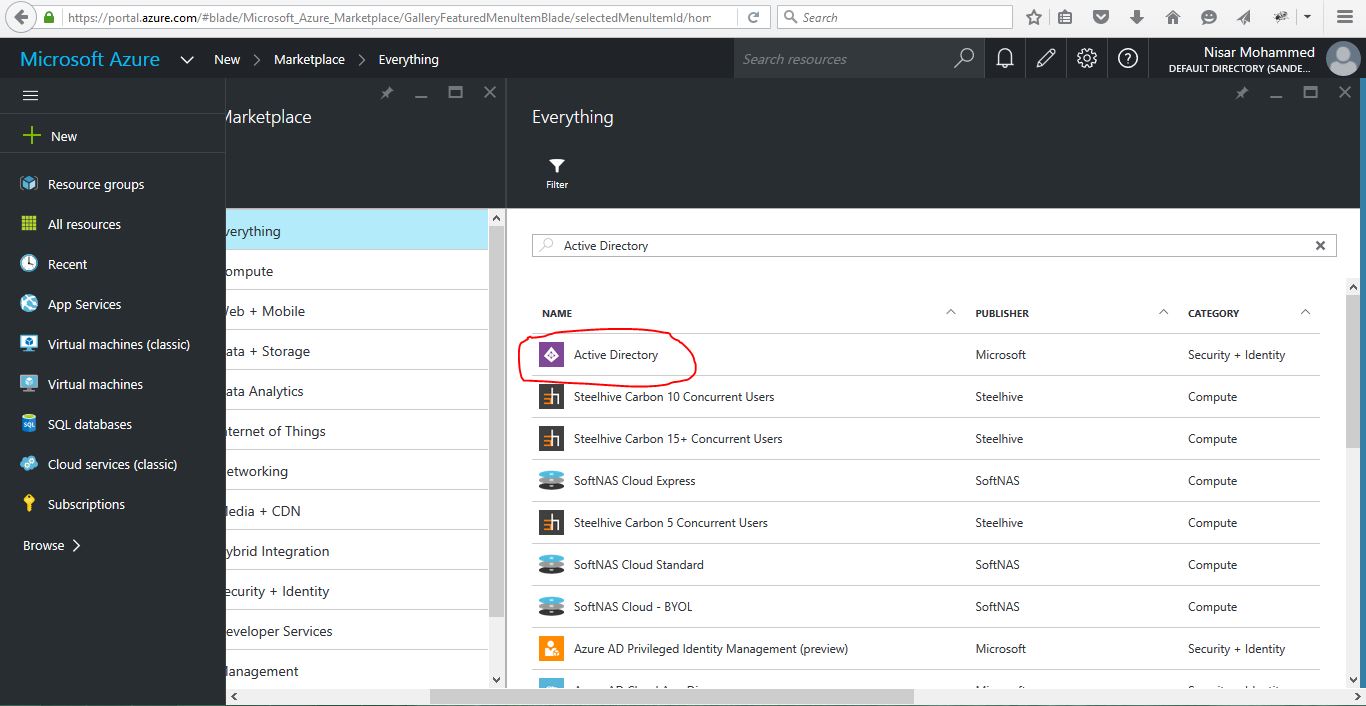
Click New -> Search (Active Directory) -> Click on Active Directory
-
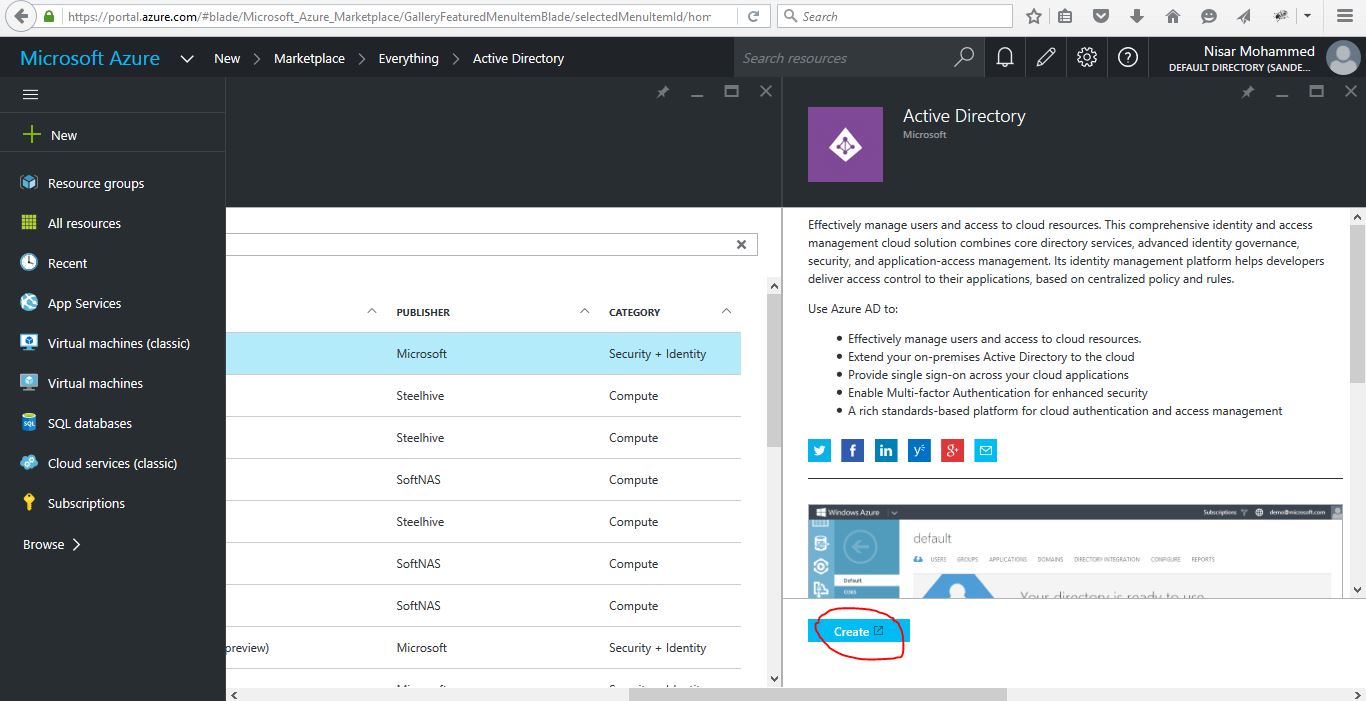
Click on Create Button it will navigate to Active Directory Page
-
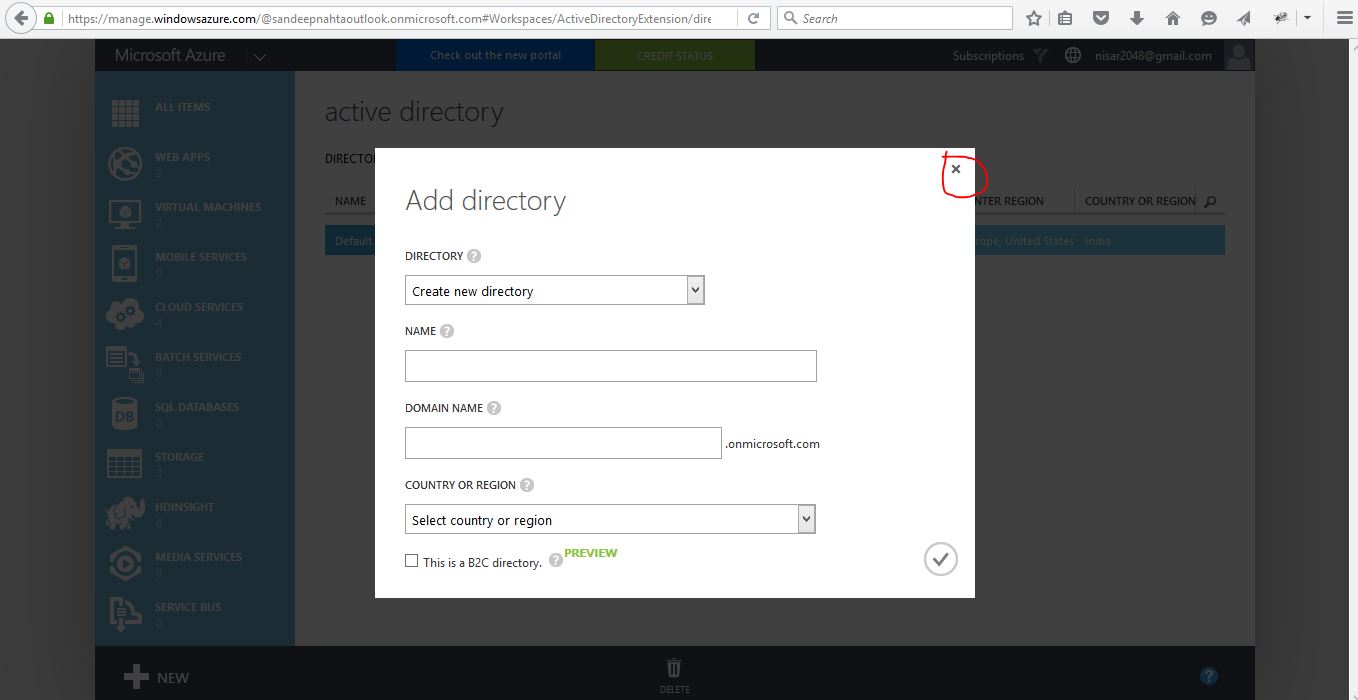
Now if there is Popup Add directory. We can Close it
-
Click New -> Search (Active Directory) -> Click on Active Directory
-
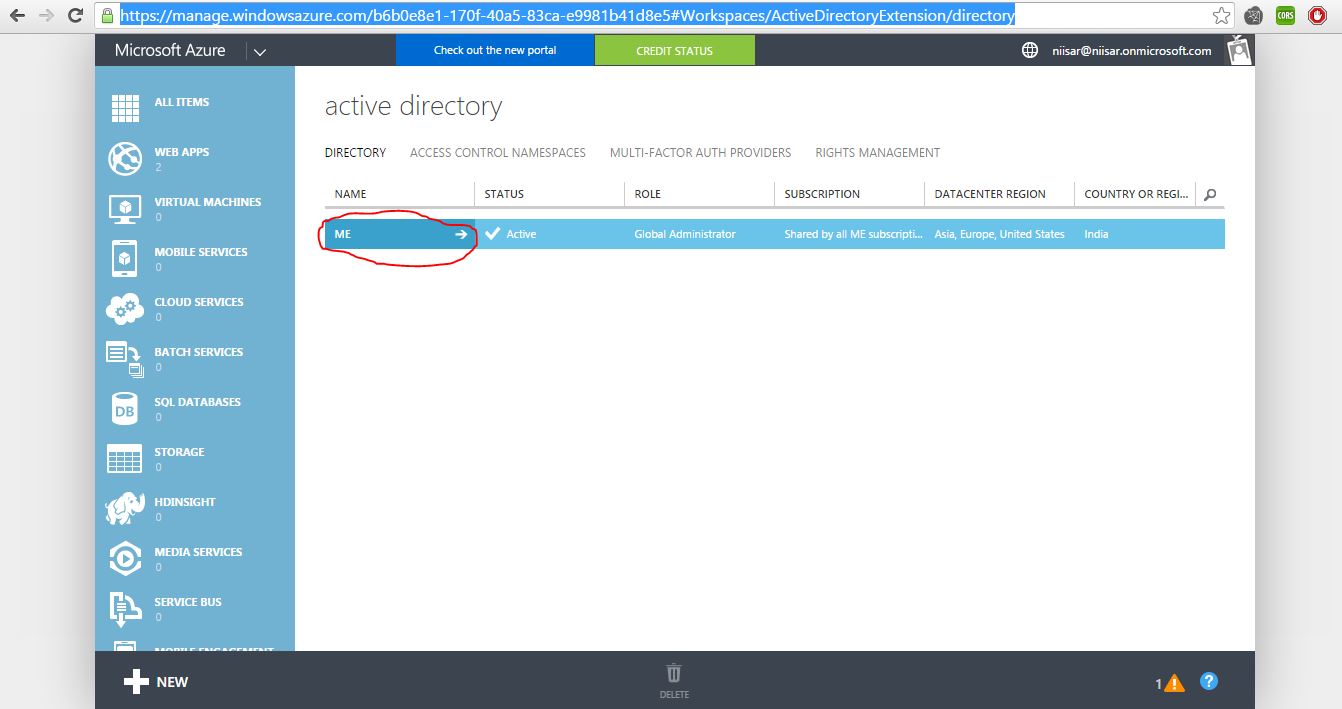
Click First Small arrow in row.
-
Click First Small arrow in row.
-
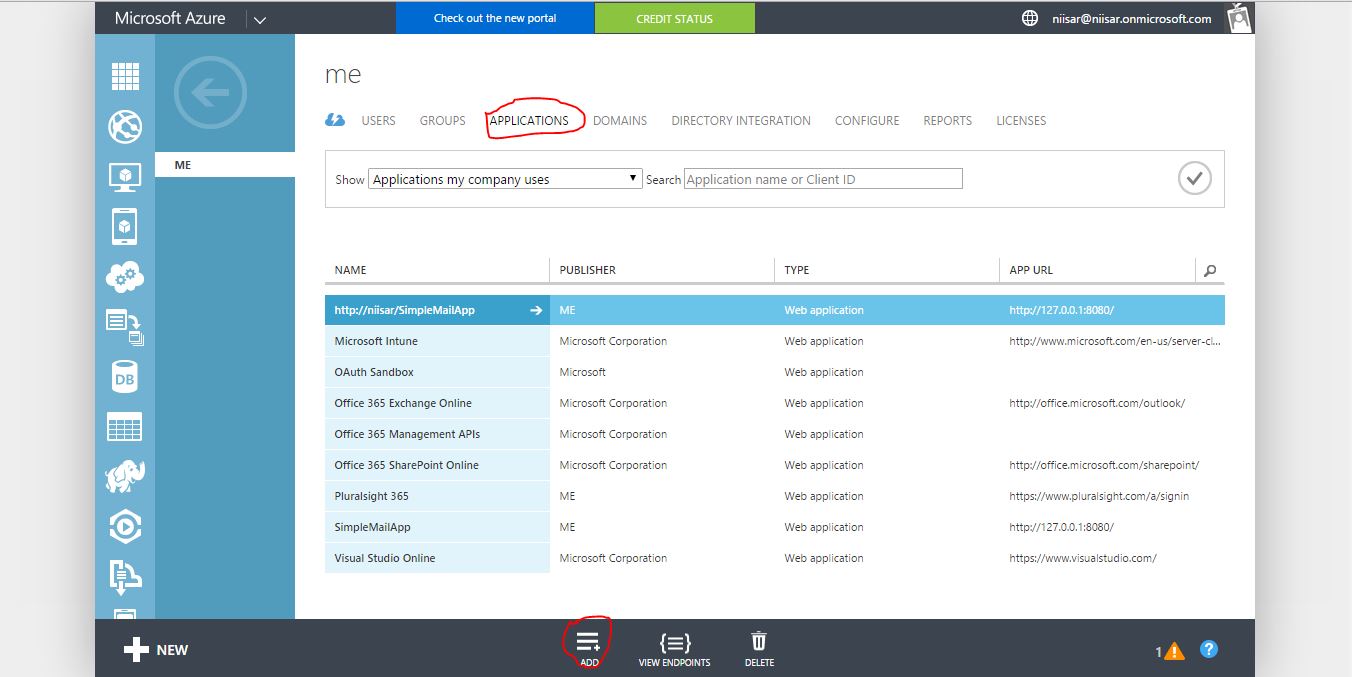
Select the Applications tab and then Add at the bottom of the screen.
-
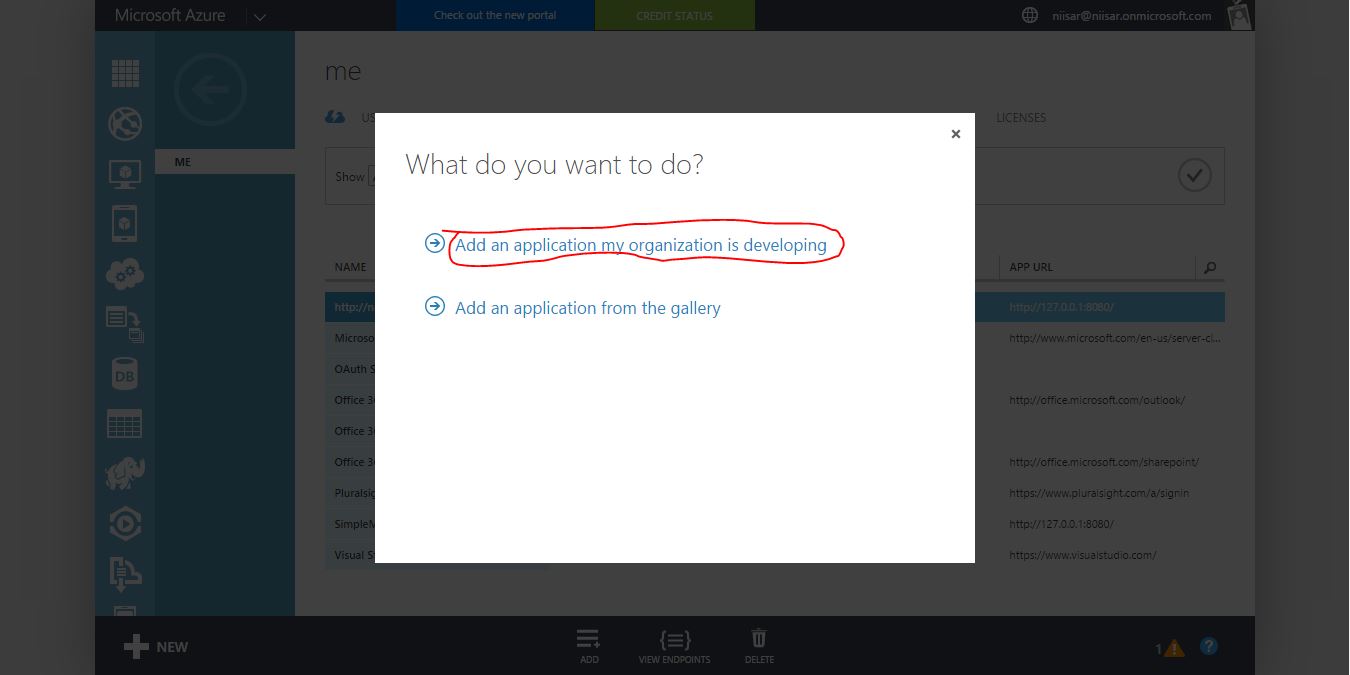
On the pop-up, select Add an application my organization is developing. Then click the arrow to continue.
-
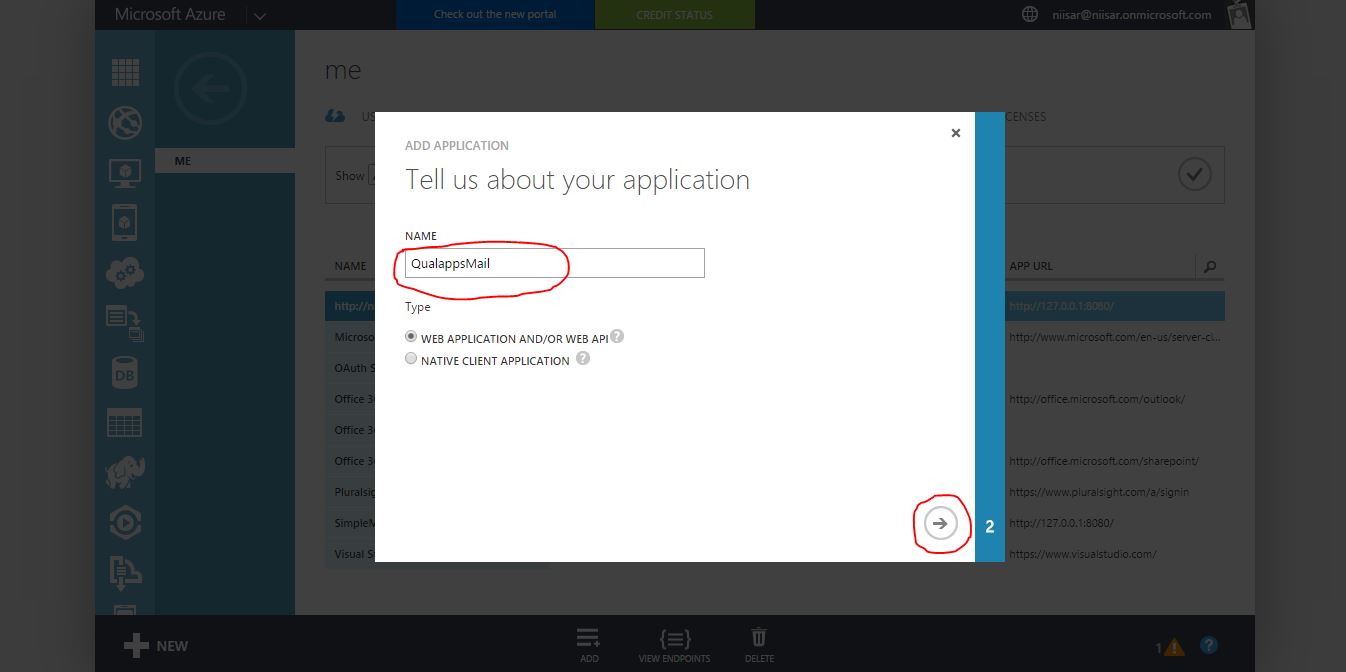
Choose a name for the app, such as QualappsMail, and select Web application as its Type. Then click the arrow to continue.
-
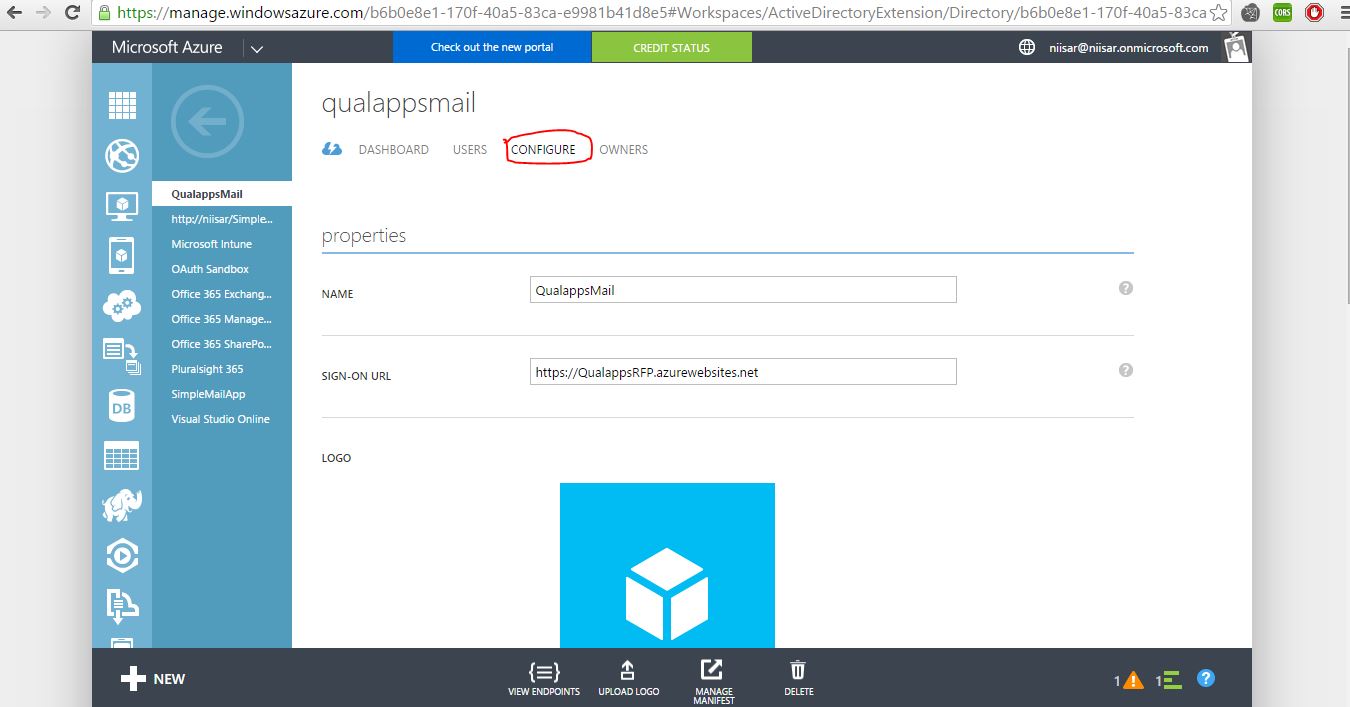
The value of Sign-on URL is the URL where the application will be hosted. Use https://QualappsRFP.azurewebsites.net.
The value of App ID URI is a unique identifier for Azure AD to identify the app. You can use http://{your_subdomain}/SimpleMailApp, where {your_subdomain} is the subdomain of .onmicrosoft you specified while signing up for your Office 365 business account. Then click the check mark to provision the application.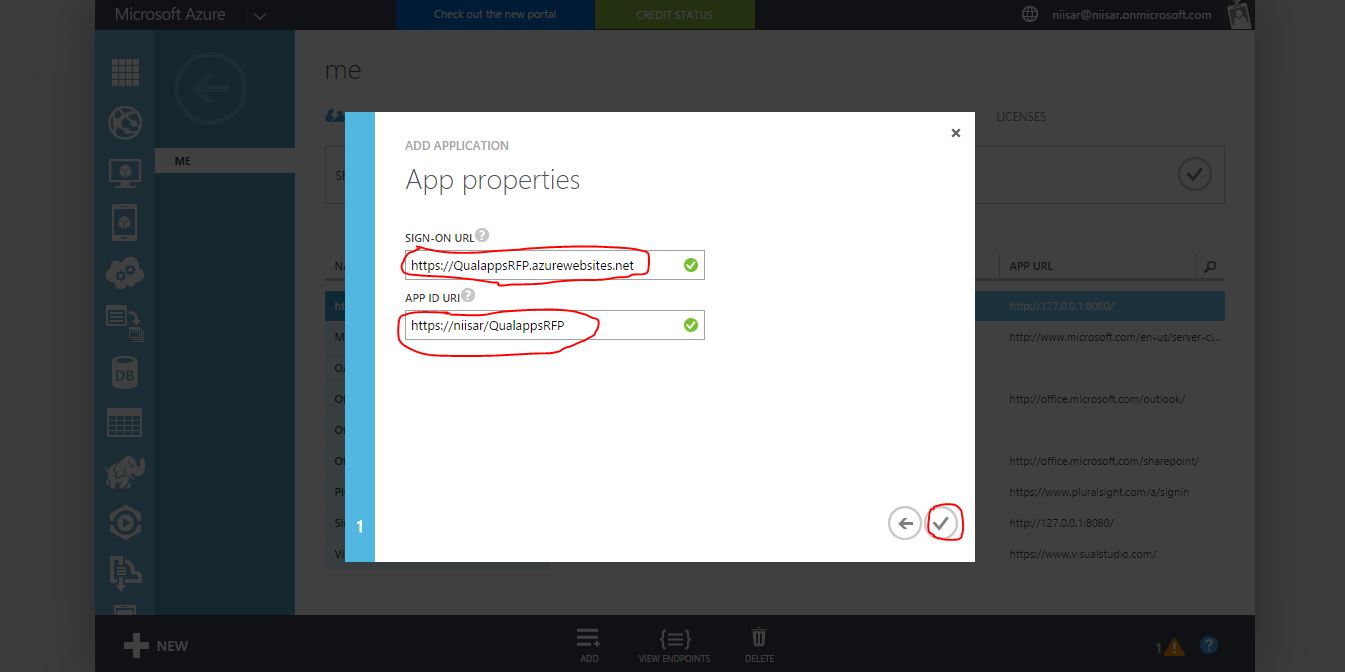
-
Once the application has been successfully added, you will be taken to the Quick Start page for the application. From here, select the Configure tab.
-
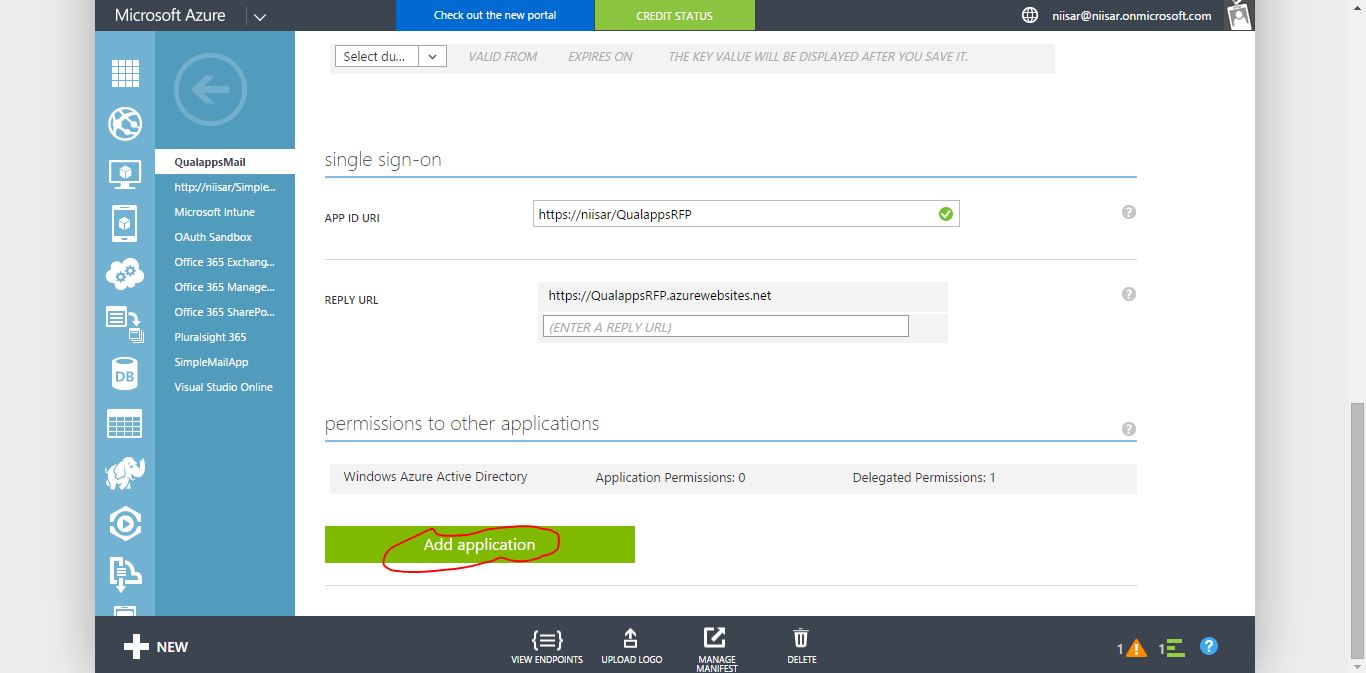
Scroll down to the permissions to other applications section and click the Add application button.
-
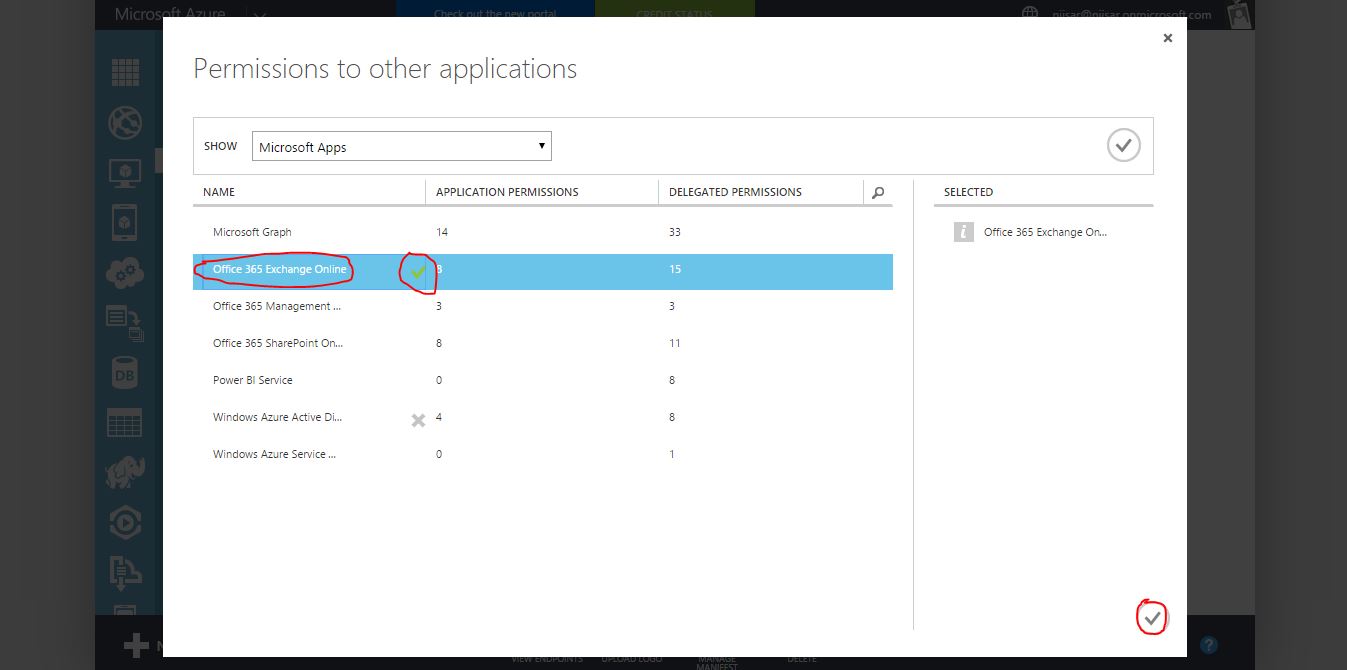
In this add the Office 365 Exchange Online application. Click the plus sign in the application's row and then click the check mark at the top right to add it. Then click the check mark at the bottom right to continue.
-
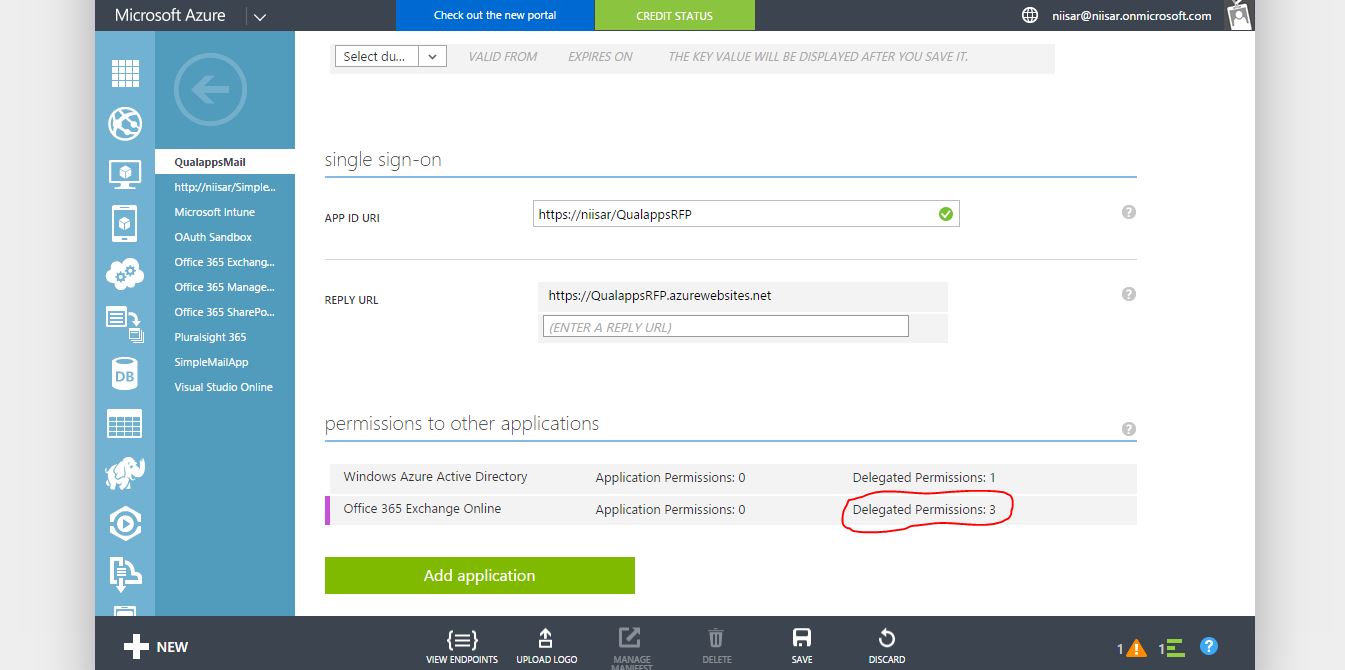
In the Office 365 Exchange Online row, select Delegated Permissions, and in the selection list, choose Read user profiles, Send mail as a user, Read user mail.
-
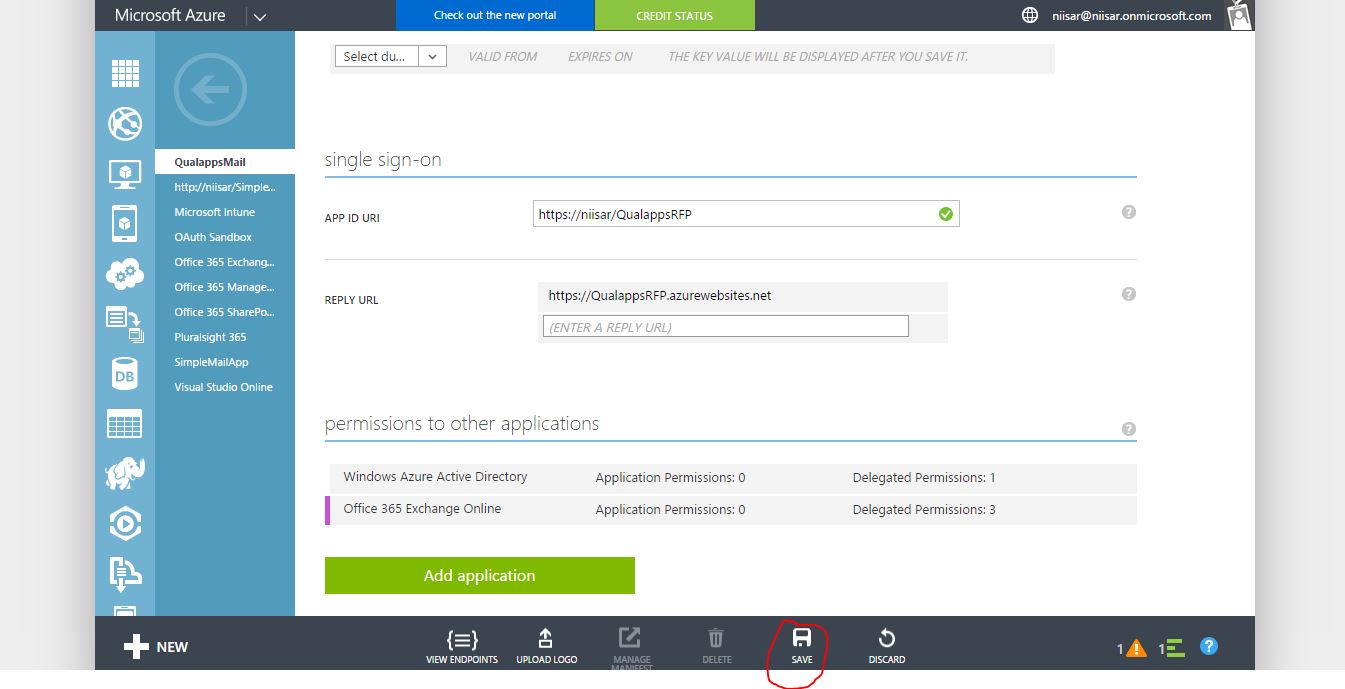
Click Save to save the app's configuration.
Configure the app to allow the OAuth 2.0 implicit grant flow
In order to get an access token for Office 365 API requests, the application will use the OAuth implicit grant flow. We need to update the application's manifest to allow the OAuth implicit grant flow because it is not allowed by default.
-
Select the Configure tab of the application's entry in the Azure Management Portal.
-
Using the Manage Manifest button in the drawer, download the manifest file for the application and save it to the computer.

-
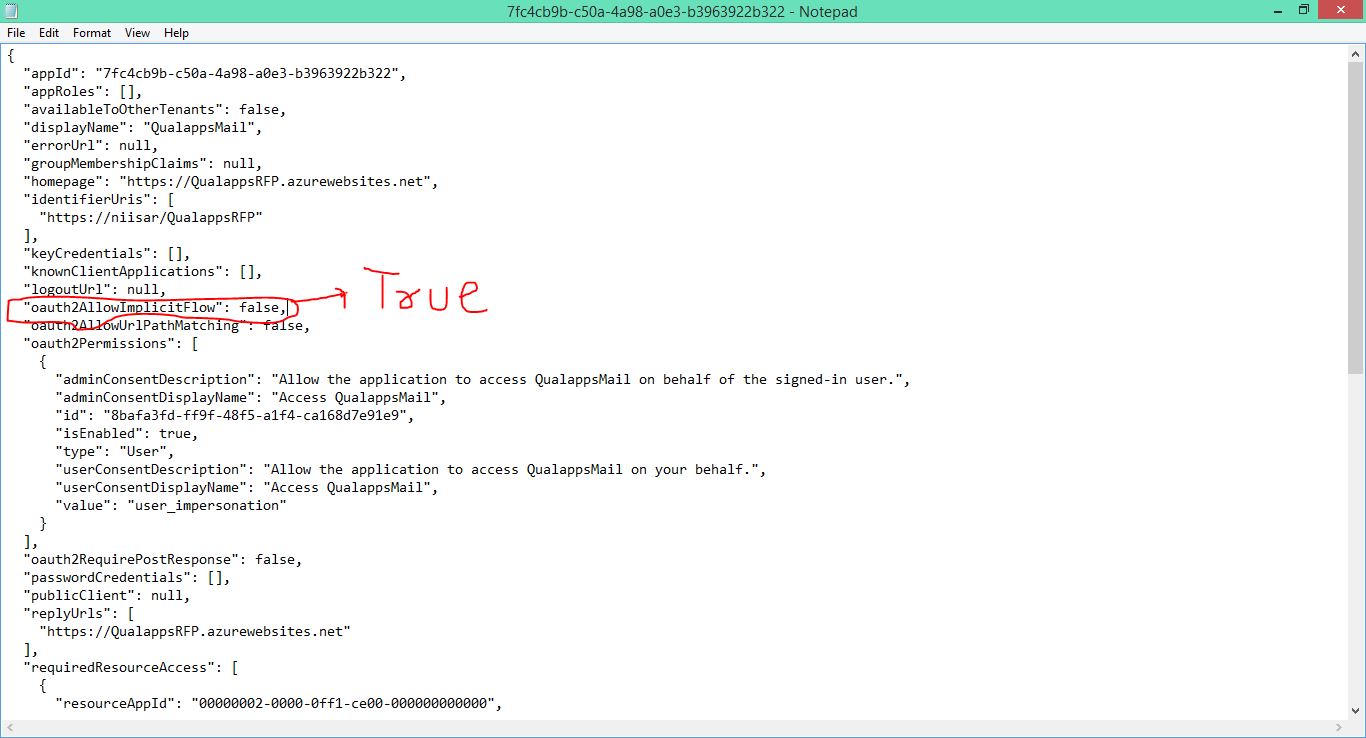
Open the manifest file with a text editor. Search for the oauth2AllowImplicitFlow property. By default it is set to false; change it to true and save the file.
-
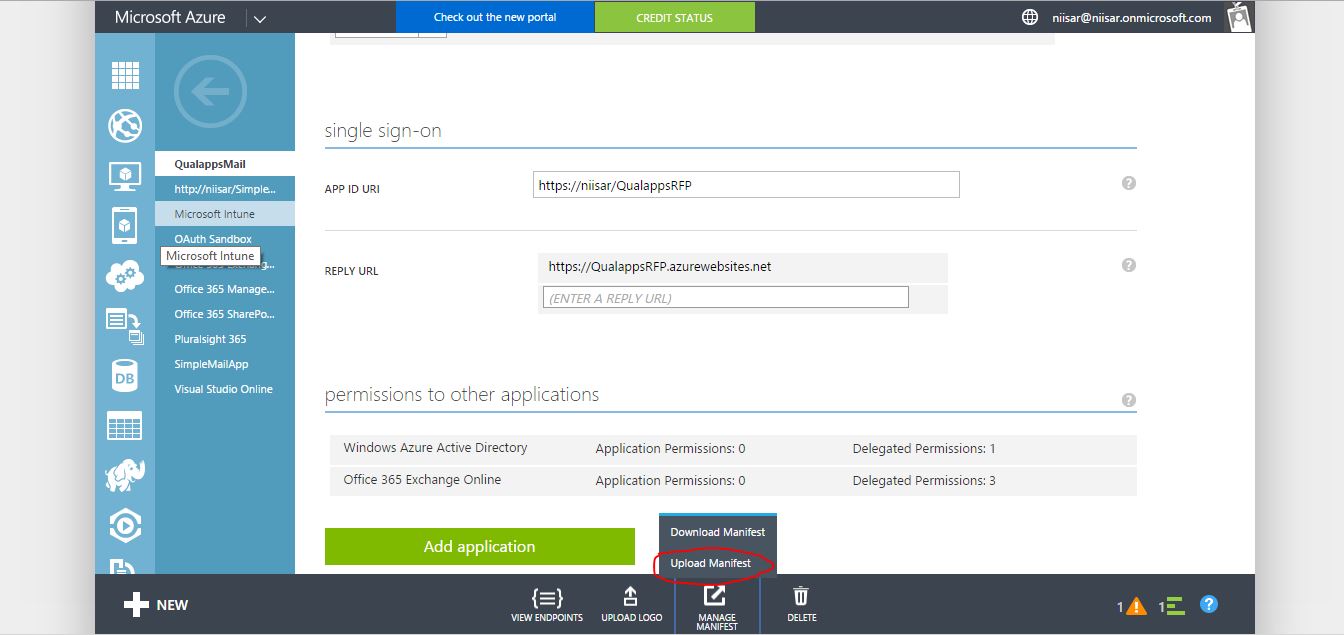
Using the Manage Manifest button, upload the updated manifest file.
-
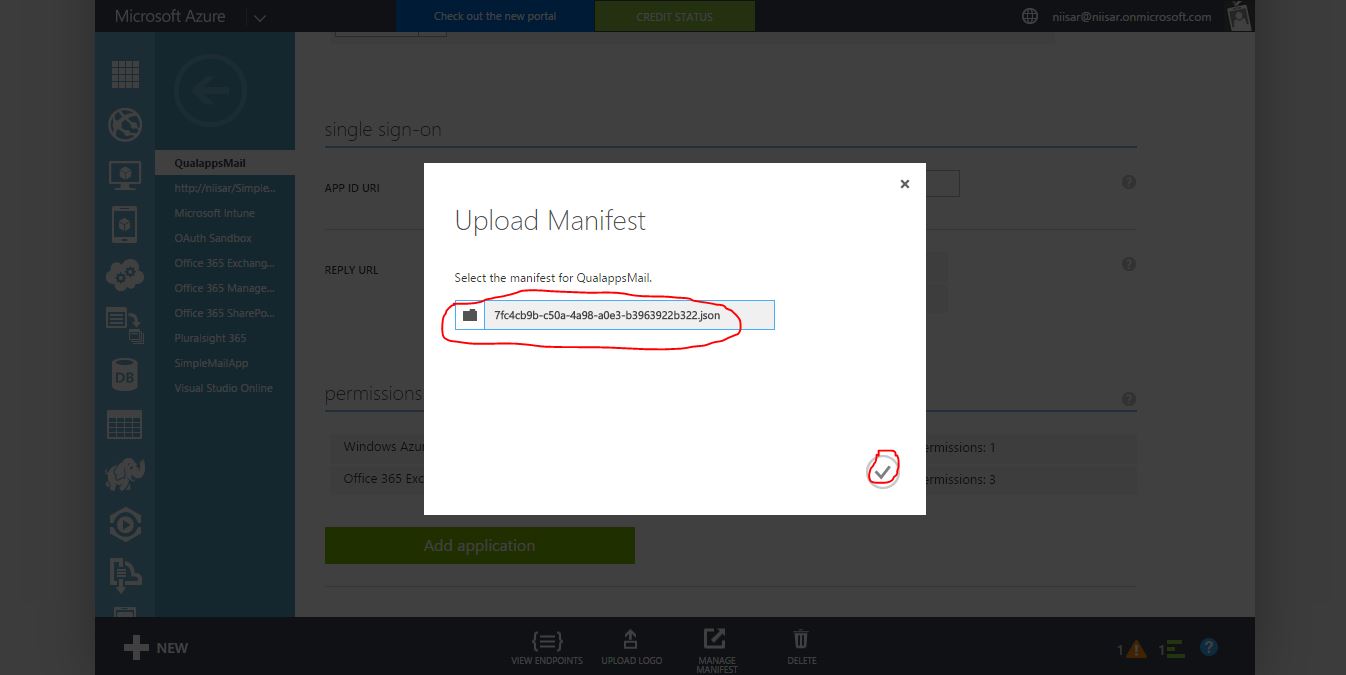
Browse and add Manifest file.
-
Finally thing is. Now we are good with ClientId which is required to integrate it in our App.